
Panomax Feature explained: Pixilation
Due to the nature of 360° images there might be sensitive areas within the scope of the camera. We highly value data protection at Panomax and that is why we offer multiple ways of pixilating selected areas within the panorama without losing the authentic nature of the image.
The process of pixilating the image is done by our Panomax team after discussing sensitive areas with our clients. Once Pixilation has been added neither we or our client will be able to see the pixilated area as it changes the image permanently.
There are four different ways on how to blend out unwanted areas:
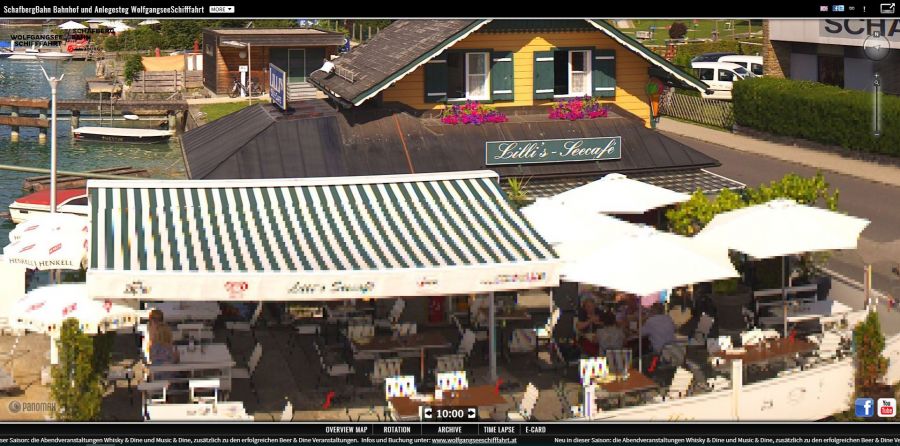
- Blur selected areas: When choosing this type of Pixilation areas will appear blurred for all users. Differences in colour and light conditions will still be recognisable but details will disappear from the public eye.
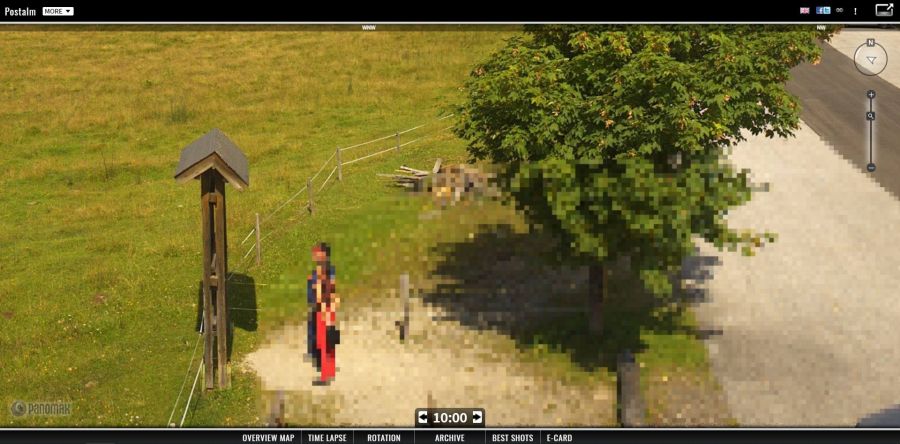
- Pixilate areas: As the name already gives away this is Pixilation as is traditionally used. Colours will still be able to be made out. This feature can be used in various strengths and is especially recommended for gardens and parking lots.
- Colour areas: Selected areas can be fully coloured in any desired shade. Especially with windows in close proximity a black colourisation has proven to secure privacy and keep the feeling of the panorama. With the colorization pixilation it is also possible to select one pixel within the image and use this one as a benchmark for the colour used over the entire pixilated area. This allows for the coloured segment to adjust to light conditions.
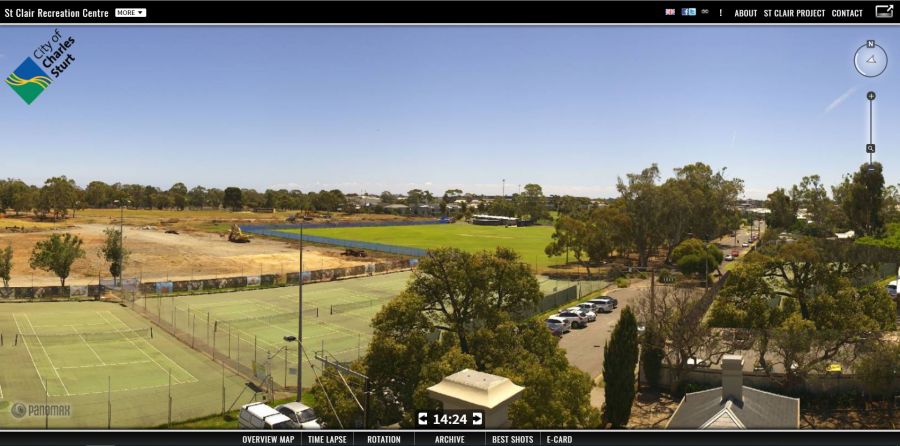
- Pixilate through fully replaced cut outs: This feature enables to select entire areas within the panorama to overlay the pixilated area. E.g. entire buildings can be replaced by a forest without being invasive to the feeling of the image – often without being realised by the viewer. Every time a picture is taken the overlay will adjust to current light and weather conditions.